Installation
First we need to install RePlayOS into your MicroSD card.
Flashing the image
-
First, download the latest version of RePlayOS from the Download section.
-
Next, use Raspberry Pi Imager or balenaEtcher for flashing the system to the MicroSD card.
-
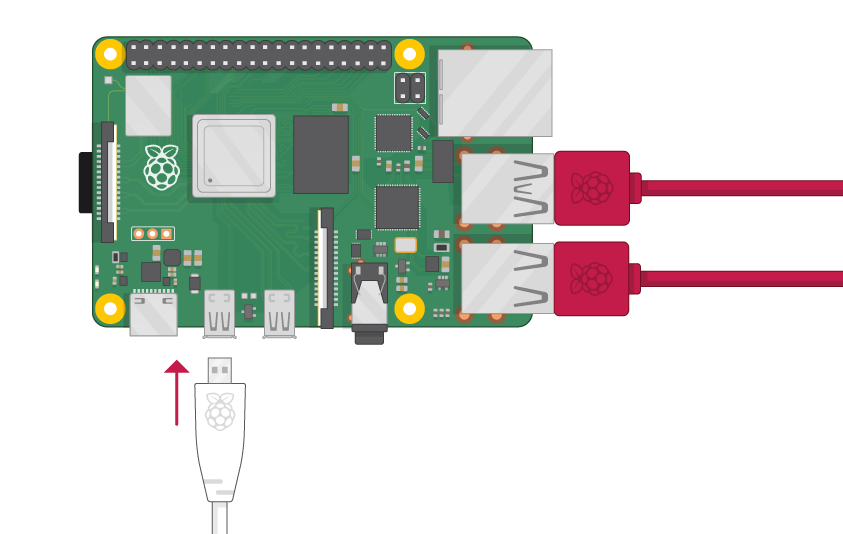
After finishing, remove the MicroSD card and plug it into your Raspberry device.
Connect the primary HDMI
IMPORTANT: Ensure you are using the primary HDMI port when booting your Raspberry Pi. Using the wrong port will result in a black screen.
First Boot
When booting your Raspberry Pi for the first time, it will perform some initial operations silently (black screen), such as creating and expanding a new exFAT partition on the MicroSD card for storing your ROMs, BIOS, saves, and config files.
Please note that these operations could take some time, so be patient. DO NOT POWER OFF the device and wait until the system displays the user interface.
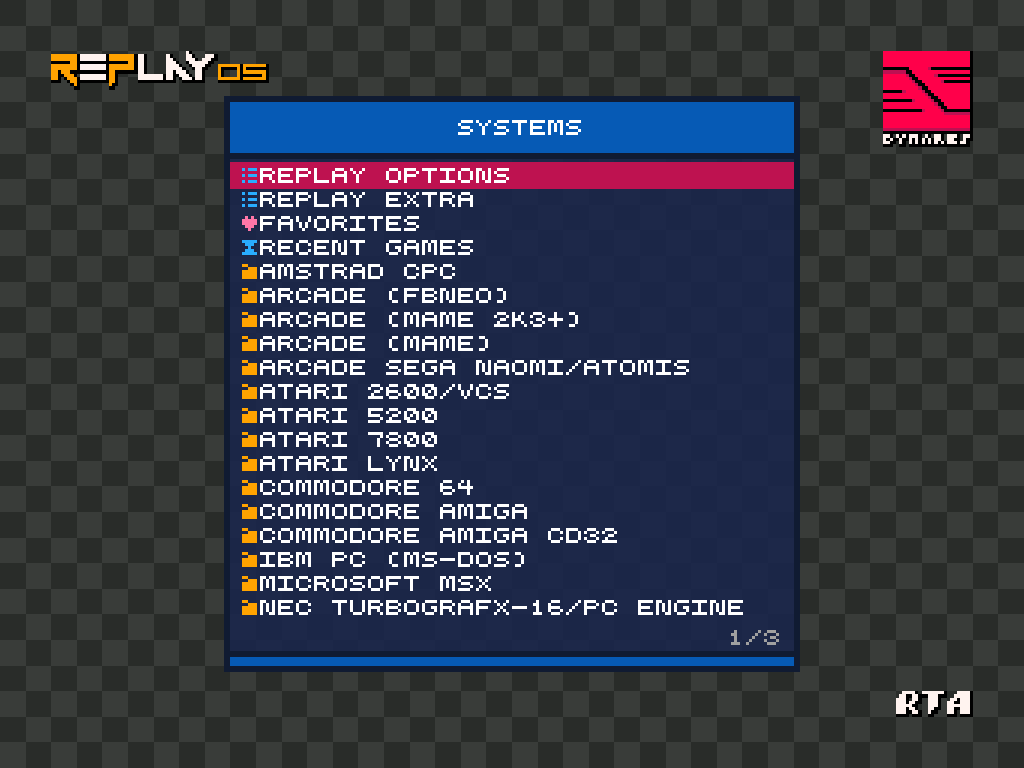
Congratulations! You are now ready for fun!